
The 21 Circuit Wiring Harness is a comprehensive solution for vehicle wiring, offering customizable and universal compatibility for various cars, including classic and modified models.
1.1 Overview of the 21 Circuit Wiring Harness
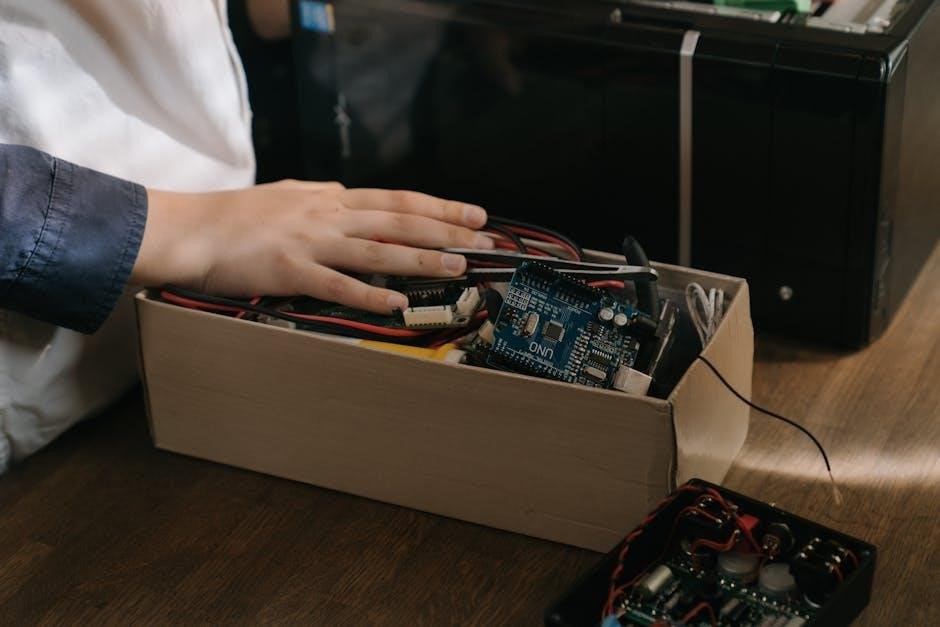
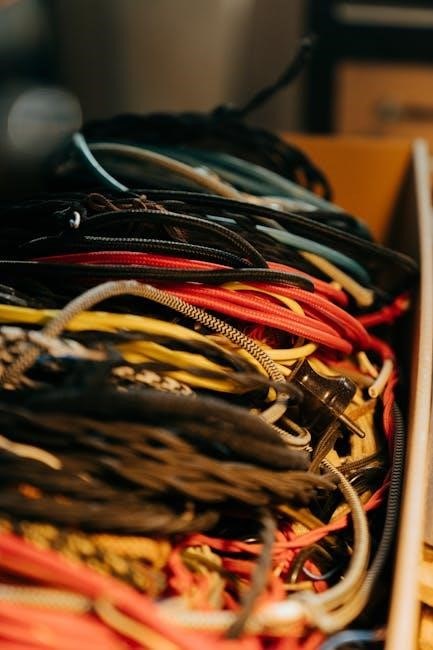
The 21 Circuit Wiring Harness is a universal, pre-wired solution designed for vehicles, offering 21 customizable circuits. It features labeled wires, color-coded diagrams, and detailed instructions for easy installation. Suitable for classic cars, hot rods, and modified vehicles, the harness simplifies electrical systems with long wires accommodating various vehicle sizes. Its organized design includes fuse boxes, connectors, and zip ties, making it a versatile choice for both novice and experienced installers. This harness ensures efficient and reliable wiring for headlights, taillights, and other essential components.
1.2 Importance of Proper Installation
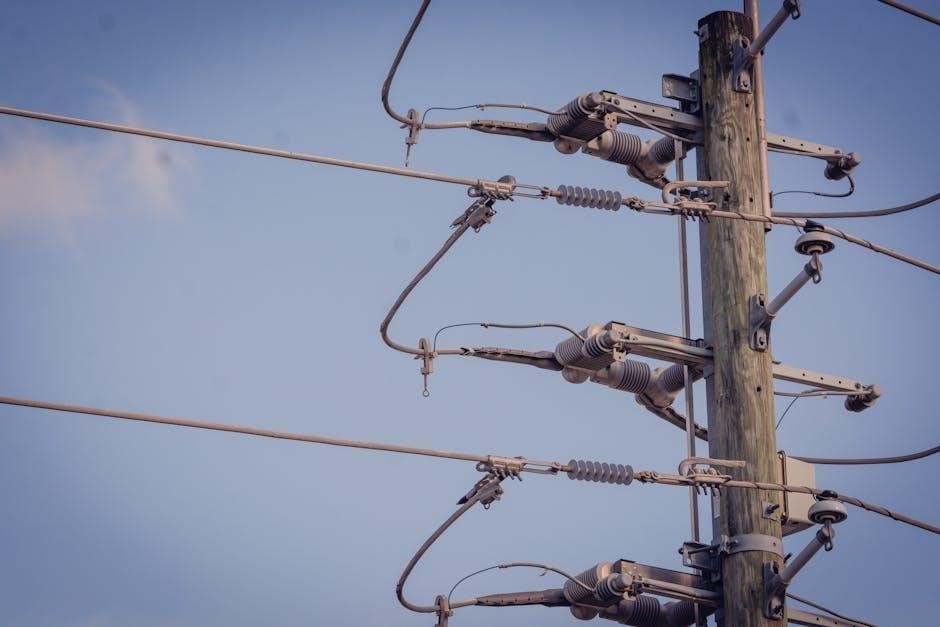
Proper installation of the 21 Circuit Wiring Harness is crucial for ensuring reliability and safety. Incorrect routing or connections can lead to electrical failures, fires, or system malfunctions. Following the provided diagrams and instructions minimizes risks and guarantees optimal performance. Secure connections and avoiding sharp edges or heat sources are essential. Regular inspections and adherence to installation guidelines help maintain the harness’s integrity, ensuring long-term functionality and protecting your vehicle’s electrical system from potential damage.
Materials and Tools Needed
The 21 Circuit Wiring Harness requires essential components like fuse boxes, connectors, and labeled wires. Tools such as wire cutters, crimpers, and cable ties are necessary for installation.
2.1 List of Required Components
The 21 Circuit Wiring Harness requires a fuse box, connectors, terminals, and wiring diagram. Additional components include cable ties, heat shrink tubing, and relays for proper connections. Ensure all parts are compatible with your vehicle’s electrical system to avoid malfunctions. Each wire is labeled and color-coded for easy identification, simplifying the installation process. Having all components ready ensures a smooth and efficient setup.
2.2 Essential Tools for Installation
For a successful installation, you’ll need wire strippers, crimpers, screwdrivers, and pliers. A multimeter is handy for testing connections. Cable ties and heat shrink tubing are essential for securing and protecting wires. A heat gun may be required for shrink tubing. A clean, well-lit workspace is crucial. Proper tools ensure safe and efficient installation, preventing damage to components. Gather all tools beforehand to streamline the process.
Pre-Installation Preparation
Begin by clearing a large, clean workspace to spread out the harness. Lay out the wiring and components, ensuring all parts are organized and easily accessible. Review the wiring diagram thoroughly to understand circuit connections and routing. Prepare tools and materials, and verify all components are included. This step ensures a smooth and efficient installation process.
3.1 Organizing the Wiring Harness
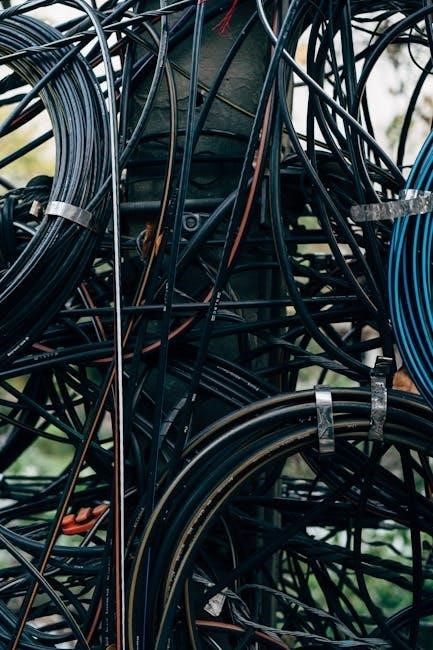
Organizing the 21 circuit wiring harness is crucial for a seamless installation. Start by laying the harness on a clean, flat surface and identify each circuit by its label or color code. Group related wires, such as those for lighting or accessories, and secure them with cable ties. This prevents tangles and makes routing easier. Use the provided diagram to map out the wires’ intended destinations, ensuring every connection is accounted for before proceeding.
3.2 Reviewing the Wiring Diagram
Before installation, thoroughly review the wiring diagram to understand circuit connections and wire routing. The diagram provides color-coded labels and circuit identifications, ensuring clarity. Cross-reference each wire with its intended destination, using the provided manual for guidance. Pay attention to grounding points and power sources, as these are critical for proper functionality. If any connections are unclear, consult additional resources or troubleshooting guides to avoid installation errors. A clear understanding of the diagram ensures a safe and efficient setup.

Step-by-Step Installation Guide
The 21 Circuit Wiring Harness provides a pre-wired solution for vehicle electrical systems. It includes labeled wires, color-coded diagrams, and a fuse box for easy installation.
4.1 Routing the Wiring Harness
Routing the 21 Circuit Wiring Harness requires careful planning to ensure proper installation. Start by organizing the harness, separating wires into logical groups based on their destinations. Use cable ties to secure the wires and prevent tangling. Avoid routing wires near sharp edges, exhaust components, or moving parts like fans or belts. Lay out the harness along the vehicle’s frame or designated paths, ensuring it reaches all necessary components without tension. This method ensures a clean, safe, and functional setup for your vehicle’s electrical system.
4.2 Connecting the Circuits
Connecting the circuits in the 21 Circuit Wiring Harness involves matching labeled wires to their respective components. Refer to the wiring diagram for accurate connections, ensuring each wire corresponds to the correct circuit. Use the color-coded system and labels to identify power, ground, and accessory wires. Connect each terminal securely, avoiding cross-connections. Test each circuit individually to confirm proper functionality before moving on. This systematic approach ensures reliable electrical performance and minimizes the risk of short circuits or malfunctions.
4.3 Securing the Harness
Securing the 21 Circuit Wiring Harness is essential for durability and safety. Use cable ties to bundle and fasten the harness to the vehicle’s frame or existing wiring looms. Route wires away from sharp edges, exhaust components, and moving parts like fans or belts. Ensure all connections are tightly secured and protected from heat sources. Properly anchor the harness using provided brackets or clips to prevent vibration damage. This step ensures long-term reliability and prevents potential electrical issues caused by loose or damaged wiring.
Troubleshooting Common Issues
Troubleshooting the 21 Circuit Wiring Harness involves identifying faulty connections, resolving power issues, and ensuring all circuits function properly. Start by checking fuses and connections for integrity. Use a multimeter to test for shorts or voltage drops. Avoid routing wires near sharp edges or heat sources, as this can cause damage. Regular inspections and secure connections prevent common electrical problems, ensuring long-term reliability and optimal performance.
5.1 Identifying Faulty Connections
Identifying faulty connections in the 21 Circuit Wiring Harness begins with inspecting each wire and connector for signs of damage or corrosion. Use a multimeter to test for continuity and voltage drops. Check for loose or disconnected terminals, as these are common sources of electrical issues. Ensure all connectors are securely fastened and free from debris. If a circuit isn’t functioning, trace the wire back to its source and verify proper connections. Regular inspections can prevent minor issues from escalating into major problems.

5.2 Resolving Power Issues
Resolving power issues in the 21 Circuit Wiring Harness involves checking fuses, circuit breakers, and connections. Start by inspecting fuses for blown conditions and replacing them if necessary. Use a multimeter to test for voltage drops or short circuits. Ensure all connectors are secure and free from corrosion. If a circuit isn’t receiving power, trace the wire to identify breaks or faulty connections. Repair or replace damaged components and test the system again to confirm proper functionality. Regular checks can prevent recurring power issues.

Customization and Upgrades
Customization of the 21 Circuit Wiring Harness allows for adding custom circuits and upgrading components like fuse boxes to enhance functionality and meet specific vehicle needs.
6.1 Adding Custom Circuits
Adding custom circuits to the 21 Circuit Wiring Harness allows for tailored functionality. Start by identifying the specific needs, such as auxiliary lights or electronic accessories. Use the pre-wired, color-coded wires to ensure compatibility. Refer to the wiring diagram for guidance on connecting new circuits without disrupting existing systems. Properly label and secure new wires to maintain organization and safety. This step ensures your vehicle’s electrical system meets all your customization goals effectively.
6.2 Upgrading Fuse Boxes
Upgrading fuse boxes in the 21 Circuit Wiring Harness enhances reliability and safety. Consider replacing standard fuse boxes with high-capacity or circuit breaker kits for improved performance. Ensure compatibility with your vehicle’s electrical system by selecting fuse boxes rated for the harness’s power demands. Plan the layout carefully, referencing the wiring diagram to avoid conflicts. Properly secure and connect the new fuse box, ensuring all circuits are protected. This upgrade ensures better power distribution and minimizes the risk of electrical failures, keeping your system running smoothly.
Maintenance and Care
Regular inspections ensure the harness remains in optimal condition. Clean and protect wires from debris and moisture. Use protective sprays to prevent corrosion and wear. Secure all connections to avoid damage. Proper maintenance prevents electrical issues and ensures long-term reliability.
7.1 Regular Inspections
Regular inspections are crucial for maintaining the integrity of the 21 Circuit Wiring Harness. Start by visually examining all wires and connections for signs of wear, fraying, or damage. Ensure all terminals are securely attached and free from corrosion. Check for any loose connections or chafing points, especially near moving parts. Verify that all fuses are intact and functioning properly. Use a multimeter to test for continuity and voltage drops across critical circuits. Additionally, inspect the harness for any signs of heat damage or discoloration, which could indicate underlying issues. Addressing these problems early prevents major electrical failures down the line and ensures reliable performance. Regular maintenance also helps identify and resolve minor issues before they escalate, saving time and cost in the long run. By incorporating these inspection steps into your routine, you can extend the lifespan of your wiring harness and maintain your vehicle’s electrical system in peak condition. This proactive approach not only enhances safety but also ensures that all components operate efficiently without interruption; Consistency is key, so schedule inspections at regular intervals to keep everything running smoothly.
7.2 Cleaning and Protecting the Harness
Cleaning and protecting the 21 Circuit Wiring Harness is essential for its longevity. Use a soft-bristle brush or cloth to gently remove dirt and debris from the wires and connectors. Avoid harsh chemicals, as they may damage the insulation. Apply a silicone-based spray or protective coating to shield the harness from moisture and heat. Regularly inspect for signs of wear or corrosion and address them promptly. Proper cleaning and protection ensure optimal performance and prevent damage from environmental factors. This maintenance step is vital for sustaining the harness’s reliability and extending its lifespan.